VikraTech Solutions

How to Set Up Webmail on Outlook for Android (auto config): A Step-by-Step Guide

A Simple Guide

A Simple Guide

How to Set Up Webmail on Outlook for Android (auto config)

Setting up your webmail on Outlook for Android allows you to access your emails seamlessly on your mobile device, ensuring that you stay connected and productive while on the go. In this guide, we’ll walk you through the process of configuring your webmail account on the Outlook app for Android.
Step 1: Open the Outlook App
Start by locating and opening the Outlook app on your Android device. You can find the Outlook app icon on your home screen or in the app drawer.
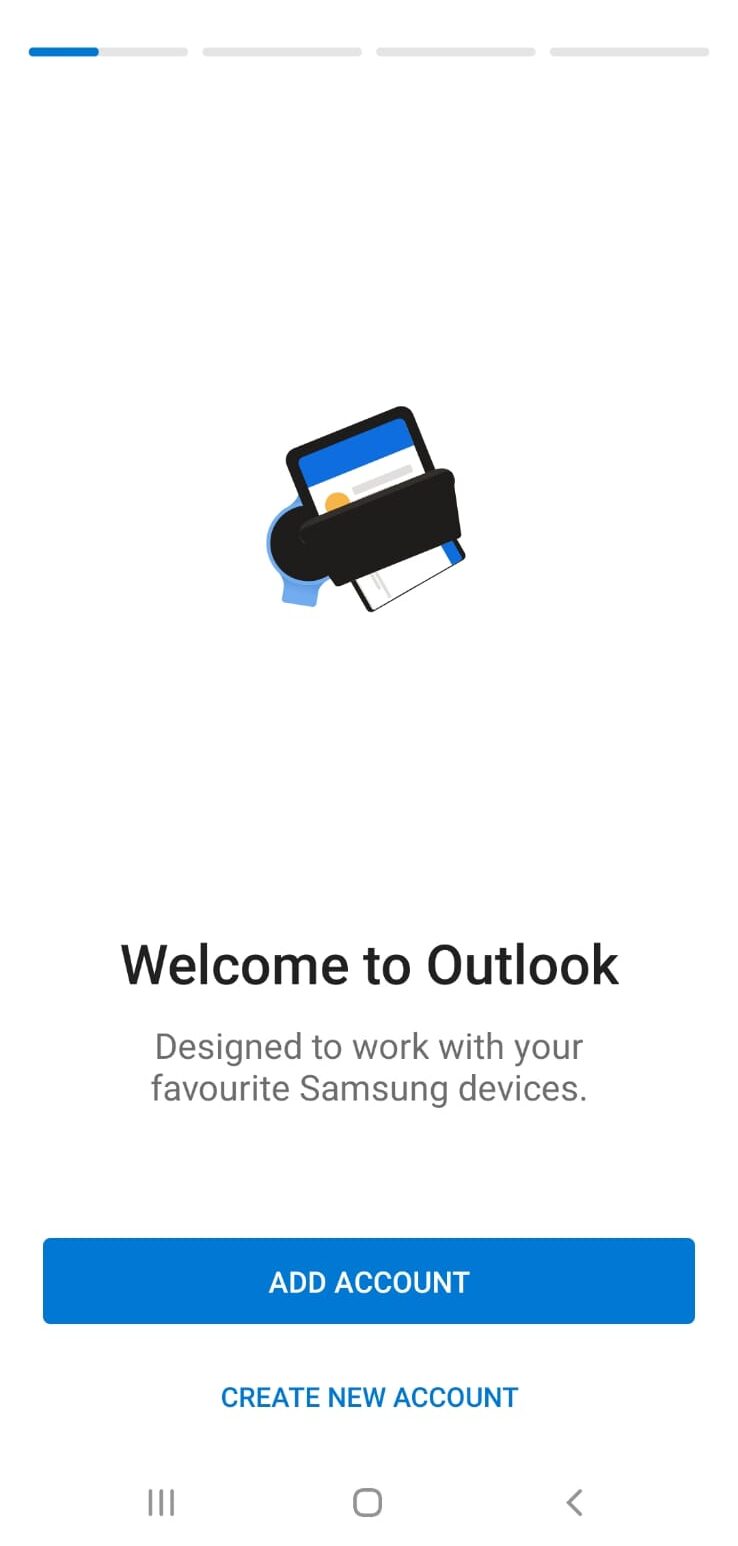
Step 2: Click on Add Account
Once the Outlook app is open, tap on the option to “Add Account.” This will initiate the process of adding a new email account to Outlook.
Step 3: Enter Your Webmail Email Address

In the provided field, enter your webmail email address, and then tap on “Continue” to proceed.
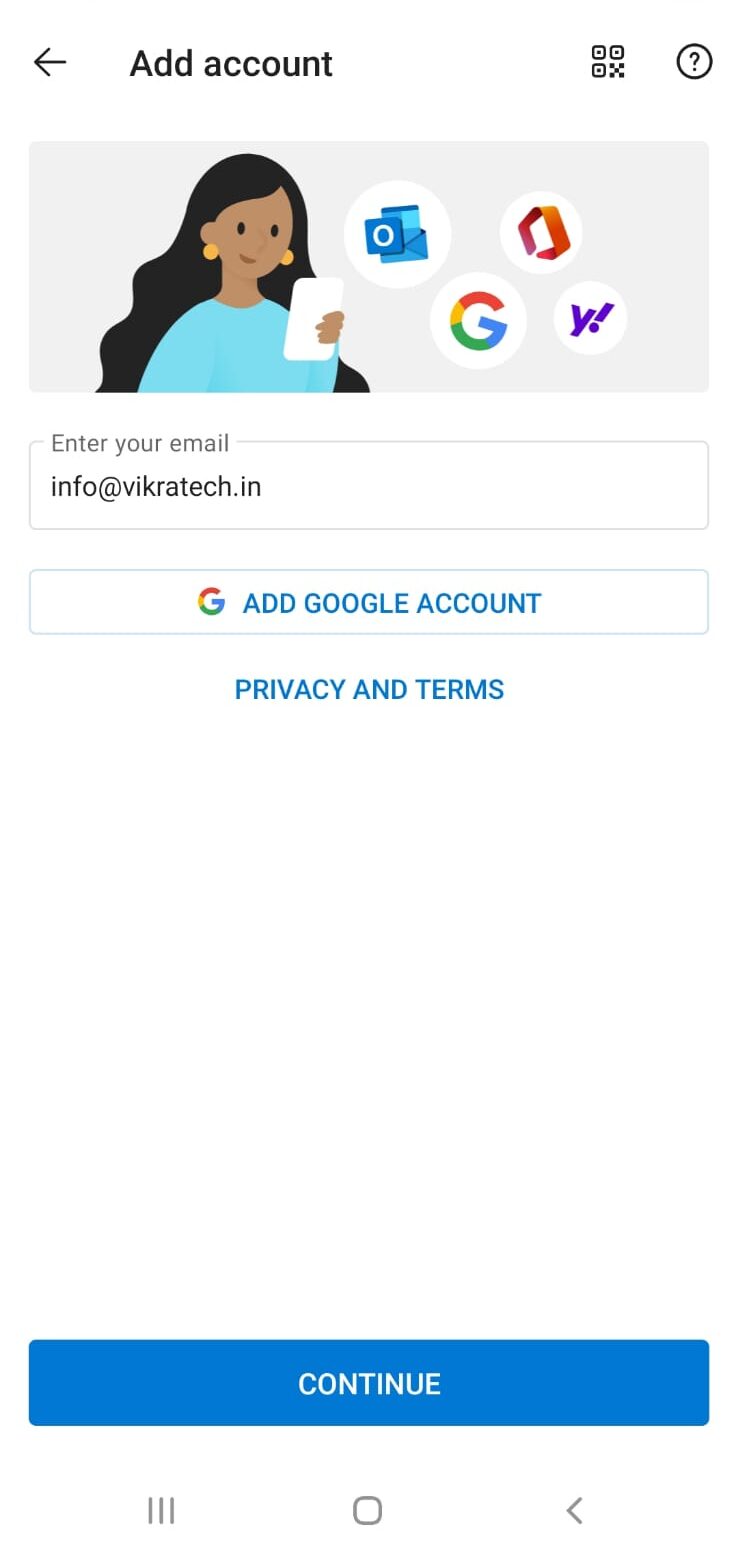
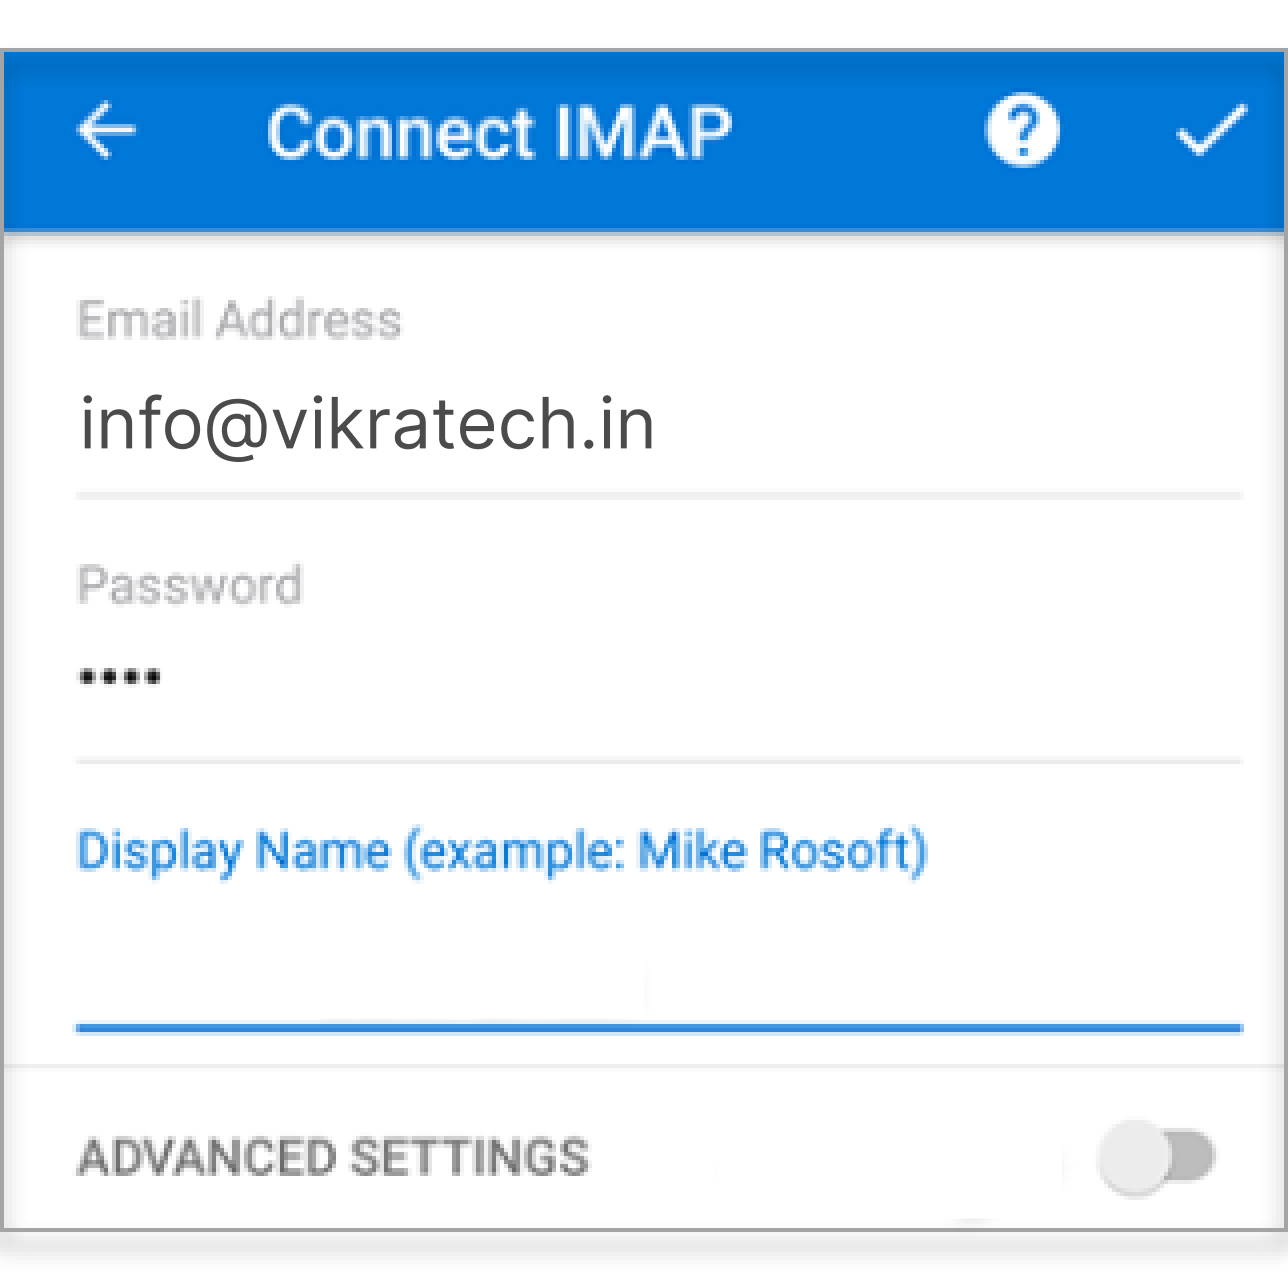
Step 4: Enter IMAP Password and Additional Information
You’ll be prompted to enter your webmail password in the field provided. Additionally, provide a Display name and Description for your account. Ensure that the “Advanced Settings” toggle is turned off. Then, tap on tick icon to continue.
Step 5: Complete the Setup
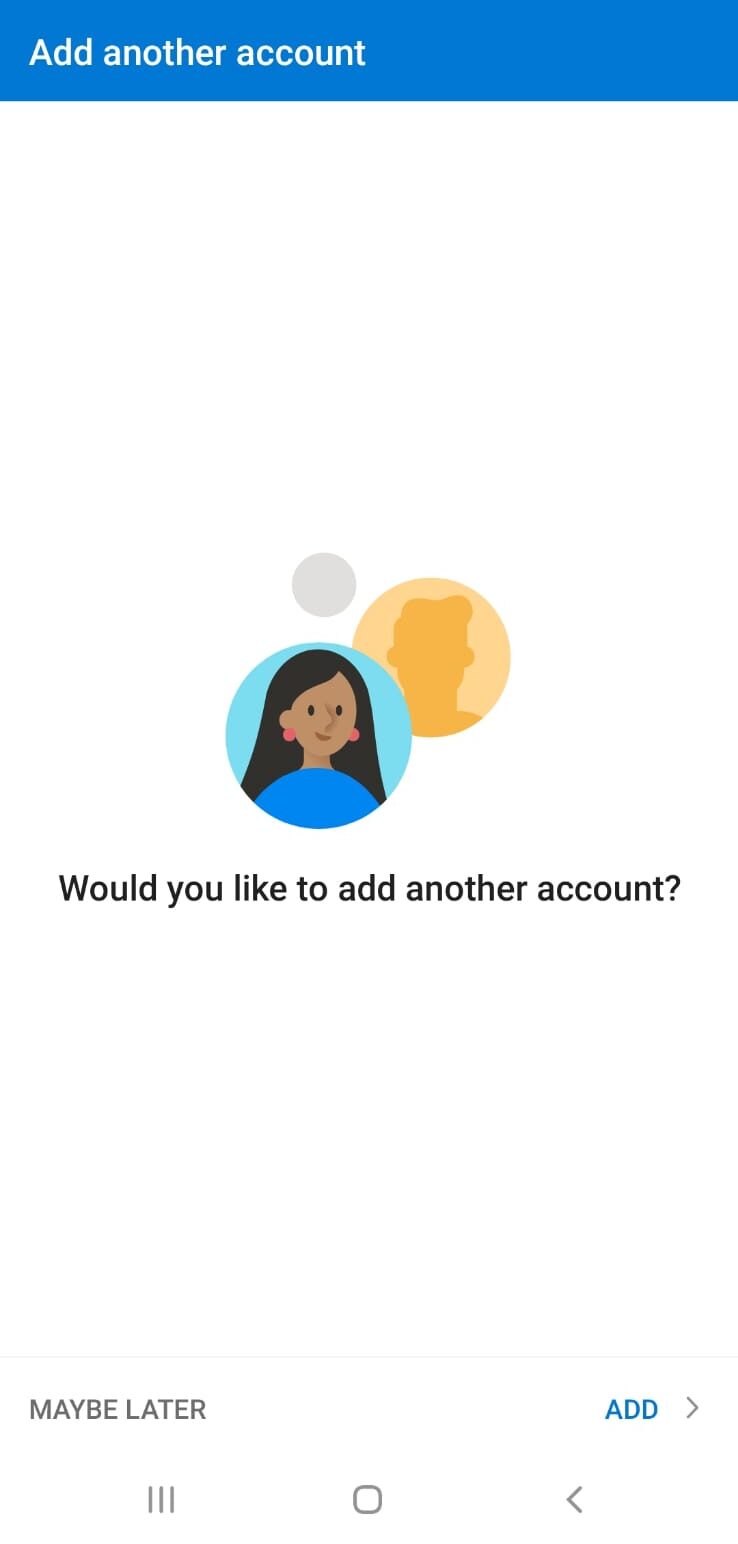
Once successfully logged in, Outlook may ask if you’d like to add another account. If you don’t wish to add another account at this time, tap on “Maybe Later.”
Step 6: Confirmation
Congratulations! You have successfully added your webmail account to Outlook for Android. You can now access your emails through the Outlook app on your device.
With these simple steps, you can effortlessly set up your webmail account on Outlook for Android, ensuring that you stay connected and productive wherever you are.

Related Posts

  • All Posts
  • Uncategorized
Load More

End of Content.